Trusted Drywall Fort Worth Specialists for Seamless Results
Trusted Drywall Fort Worth Specialists for Seamless Results
Blog Article
Total Guide to Reliable and efficient Drywall Installment
Drywall installation is an important element of any kind of building or restoration job, requiring a precise strategy to guarantee both performance and reliability. It is crucial to explore the nuances of each action in the process, as they collectively contribute to the general success of the drywall installation.
Vital Tools for Drywalling
When embarking on a drywall installment project, having the right tools is important for achieving an expert coating. Important tools consist of a drywall knife, tape step, and a T-square, which are basic for exact measurements and smooth cuts. A drywall lift is also very valuable, especially for ceiling setups, enabling less complicated handling of hefty panels.
For securing the drywall, a cordless drill and drywall screws are required. The drill must be equipped with a drywall bit to ensure efficiency and accuracy. In addition, a vital device is the drywall saw, which facilitates reducing around other obstacles and electric outlets.
Additionally, safety gear such as shatterproof glass and a dust mask are necessary to guarantee personal safety and security during the installation procedure. Making use of the right tools not only boosts the quality of the installation yet additionally enhances the workflow, making the project a lot more reliable general.
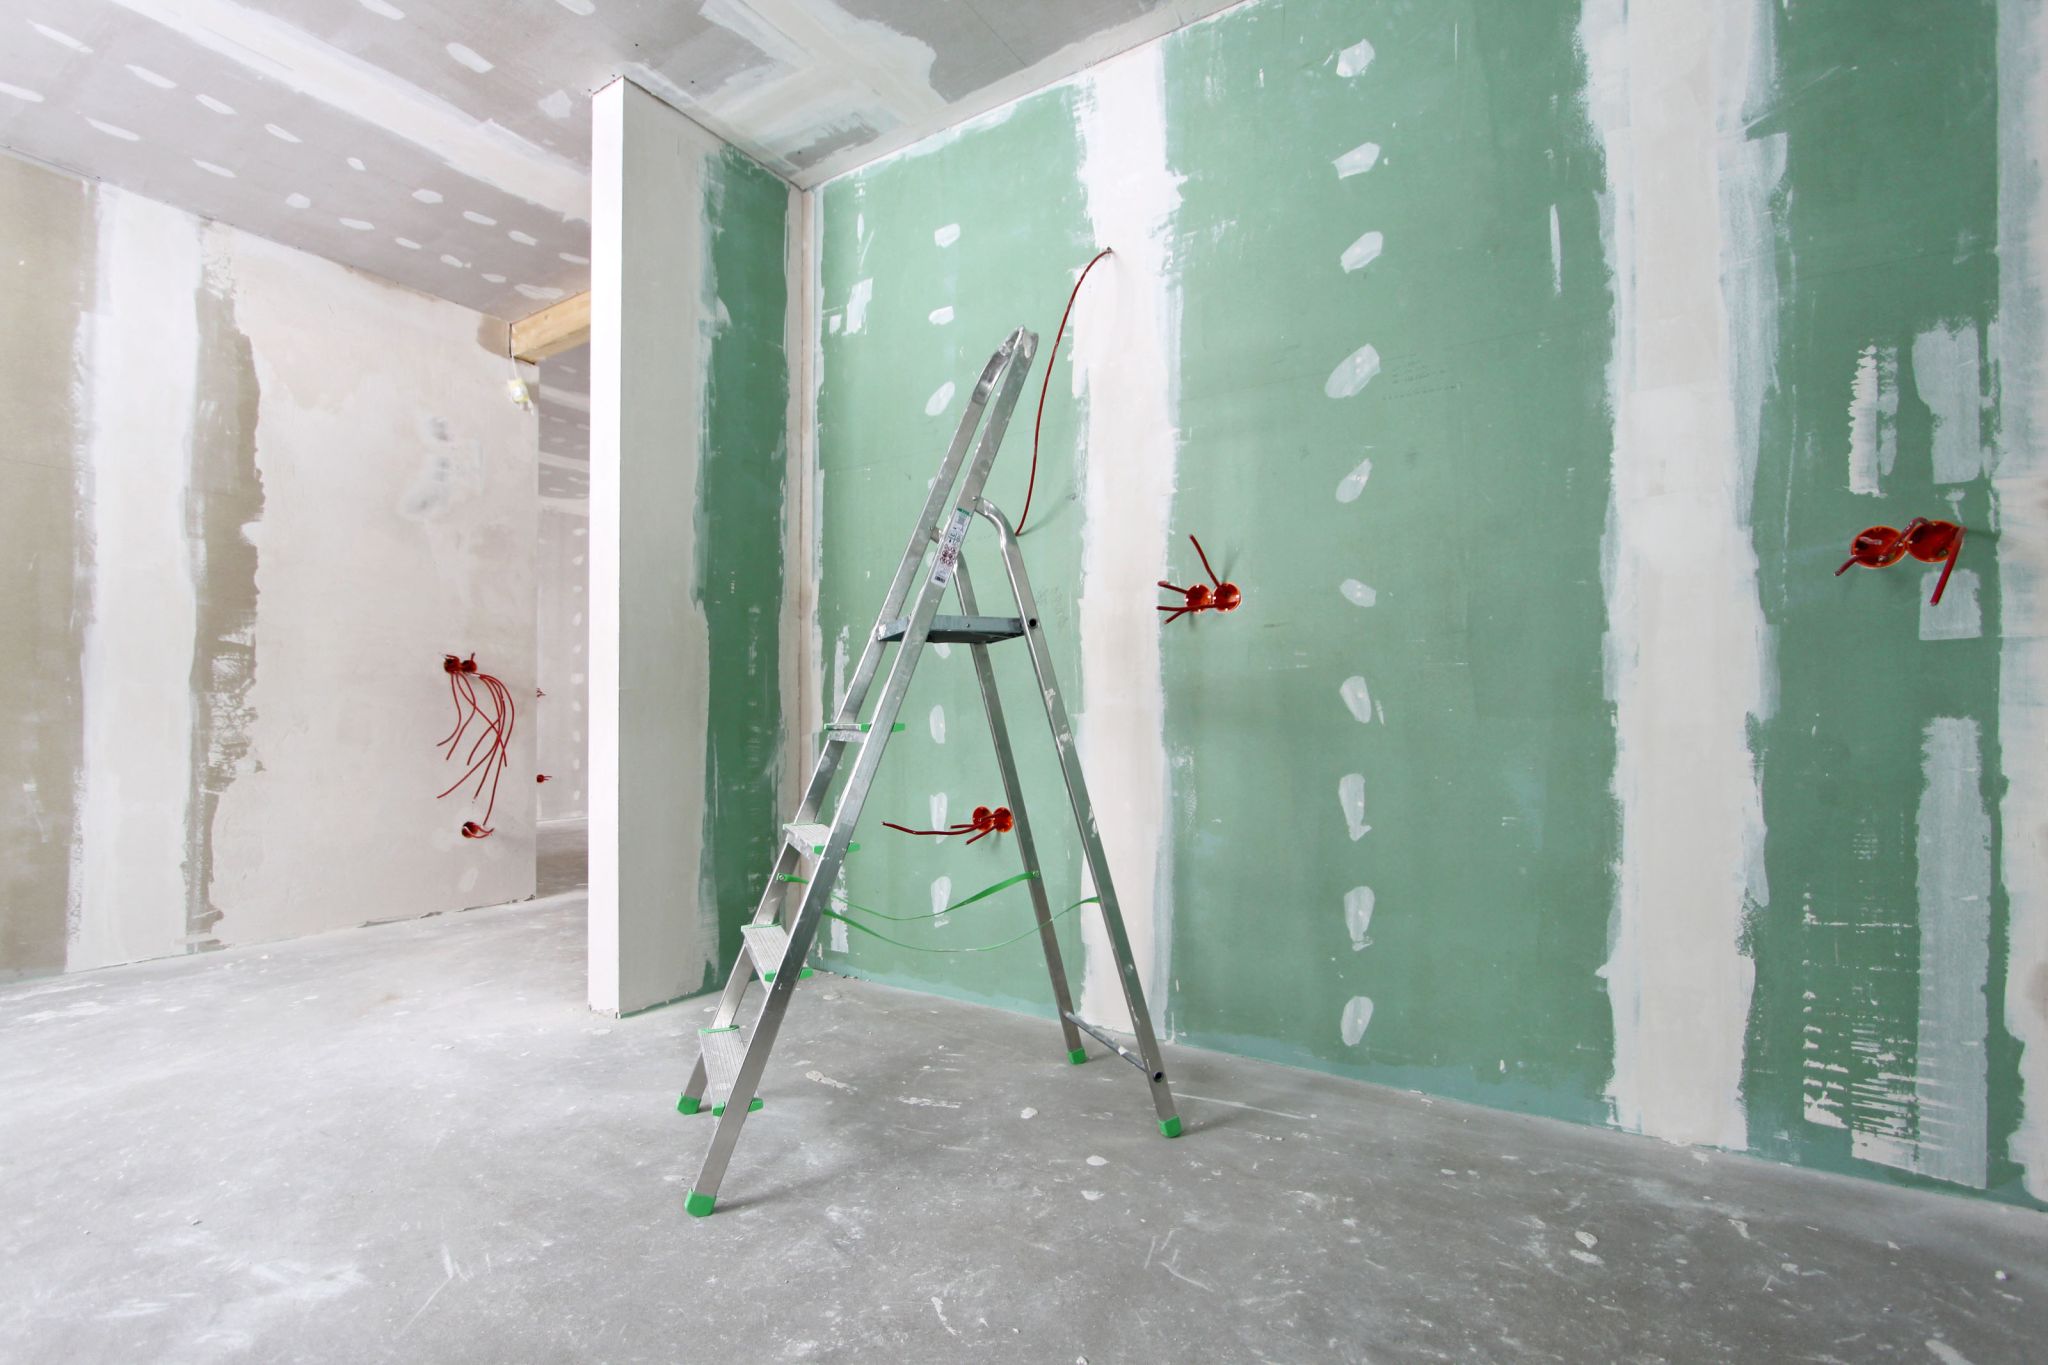
Preparing the Space

Following, examine the condition of the wall surfaces and ceilings. Repair any kind of existing damage, such as openings, cracks, or peeling off paint, to guarantee a smooth and also surface area for drywall application. Furthermore, look for electric outlets, pipes lines, and heating and cooling air ducts, noting their areas to prevent complications during setup.
It is also essential to gauge the space precisely, establishing the dimensions of the ceilings and wall surfaces to calculate the proper quantity of drywall needed. Produce a thorough strategy that includes the design and alignment of the drywall panels.
Installment Techniques
Efficient setup strategies are crucial for accomplishing a specialist finish in drywall projects. Appropriate dimension and cutting of drywall sheets are basic actions. Always determine the wall surface room accurately, enabling for any kind of switches or outlets. Use an energy blade for tidy cuts, racking up the paper face and breaking the board along the racked up line.
When hanging drywall, begin with the top and job downward, Find Out More ensuring that the long edge of the board is perpendicular to the framing. Protect the sheets with screws as opposed to nails, which offer higher holding power and decrease the risk of standing out. Area screws every 12 inches along the sides and every 16 inches in the field of the board.
For corners, use edge grains to accomplish sharp, clean edges. When installing on ceilings, use a drywall lift or have a companion aid in holding the sheets in position (drywall installation). Maintain a gap of concerning 1/4 inch over the flooring and ceiling to accommodate development and tightening
Completing Touches
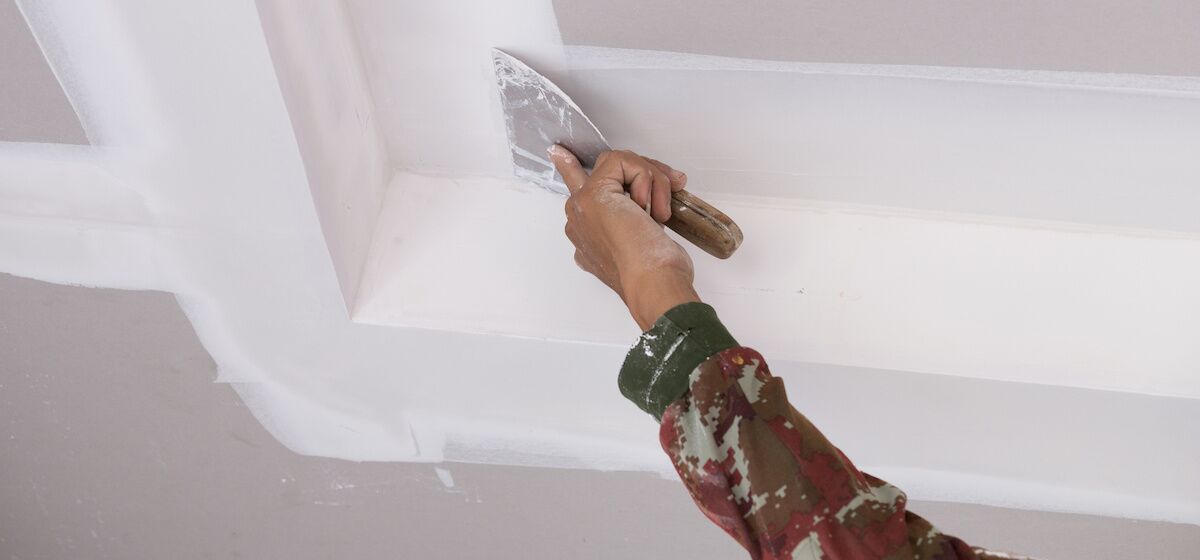
Begin by using joint tape over the seams. This can be either paper or fiberglass mesh tape, with paper being preferred for its toughness. When the tape remains in location, it's time to apply the first coat of joint compound, also recognized as mud. Utilize a 10 to 12-inch taping blade to spread out the compound equally over the taped seams, feathering the sides to blend with the bordering drywall.
Allow the substance to dry thoroughly, usually 24 hours. After drying, sand the surface area lightly with fine-grit sandpaper to get rid of any flaws. drywall contractor. Repeat the mudding and sanding procedure, usually 2 to 3 coats, ensuring each layer is flush and smooth with the drywall surface
Typical Blunders to Avoid
Lots of do it yourself fanatics run into pitfalls during drywall installment that can compromise the results. One see here now typical blunder is failing to correctly cut and determine drywall sheets. Incorrect cuts can bring about gaps and uneven seams, making completing extra labor-intensive. In addition, neglecting to surprise joints can produce powerlessness in the wall surface, causing prospective sagging or splitting with time.
An additional frequent error is incorrect attachment. Utilizing as well few screws or nails can cause loosened drywall, while overdriving bolts can create the paper to tear, damaging the framework. It's vital to preserve find out this here regular spacing, typically every 16 inches, and to ensure that bolts are flush with the surface area.
Additionally, not attending to wetness issues prior to installment can lead to mold development and architectural damage. Constantly assess the setting and usage moisture-resistant drywall in high-humidity locations.
Verdict
Trusted and effective drywall installation requires careful focus to detail throughout the process. By using essential tools, preparing the area appropriately, and sticking to finest techniques in installment techniques, a perfect finish can be attained. Additionally, careful application of joint compound and tape throughout the finishing phase enhances sturdiness and look. Staying clear of typical blunders even more adds to an expert outcome, highlighting the value of accuracy and method in successful drywall projects.
It is necessary to discover the subtleties of each step in the procedure, as they jointly add to the total success of the drywall setup.When getting started on a drywall installation task, having the right devices is essential for achieving a professional finish.For securing the drywall, a cordless drill and drywall screws are essential.Correctly preparing the space is important for an effective drywall installation.Reliable installment methods are important for attaining an expert finish in drywall tasks.
Report this page